Richard opened the meeting by stating that today we had Alan, John and Don available for club members to ask any problems also that we had a new Book and Video library, and a number of tools, which members can borrow. It was a good turnout of members with many questions asked about different subjects and problems keeping Alan, John and myself very busy. Richard was on hand to help those members who needed help with sharpening. Refreshment time came and went and it was not long before we were packing up to go home. No photos available.
CLUB NIGHT 19th NOVEMBER 2024
DEMONSTRATION BY LES THORNE
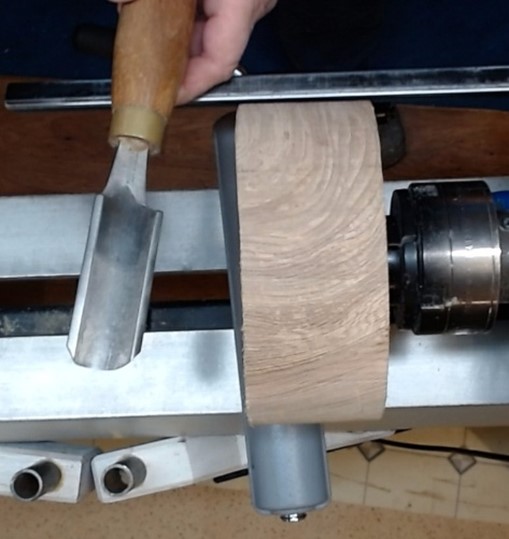
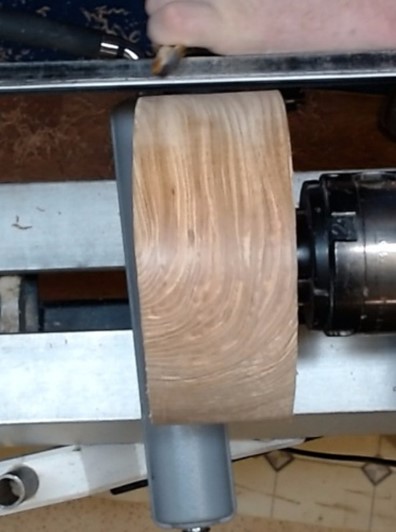
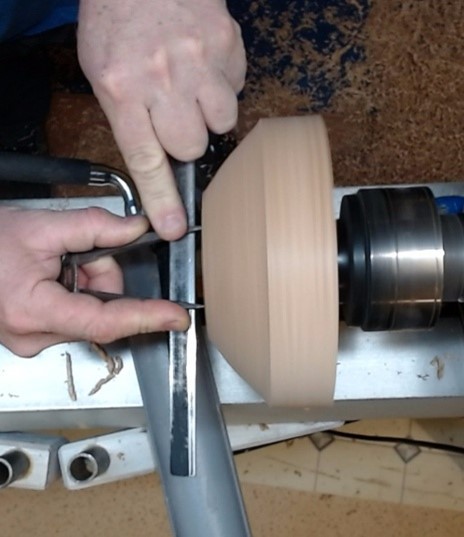
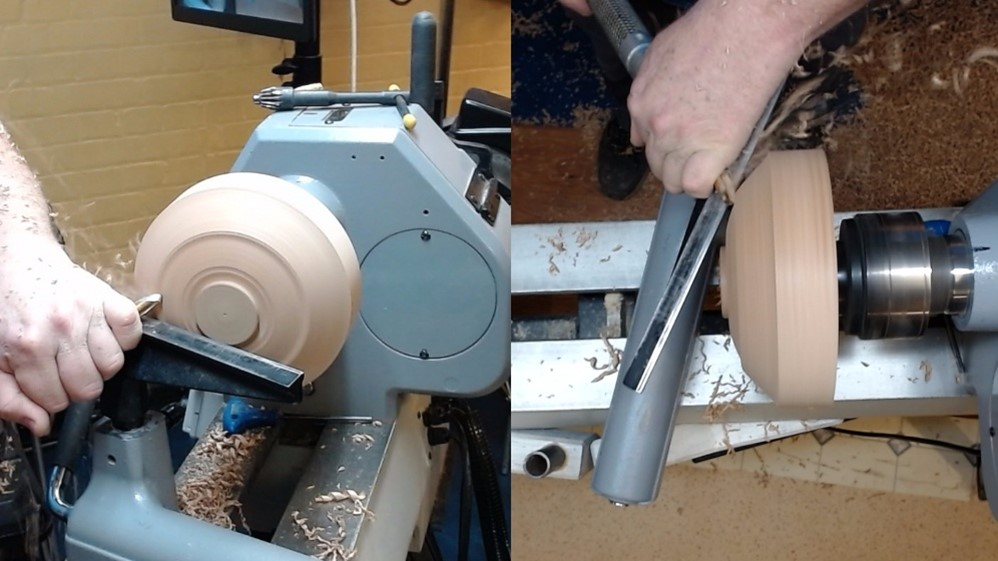
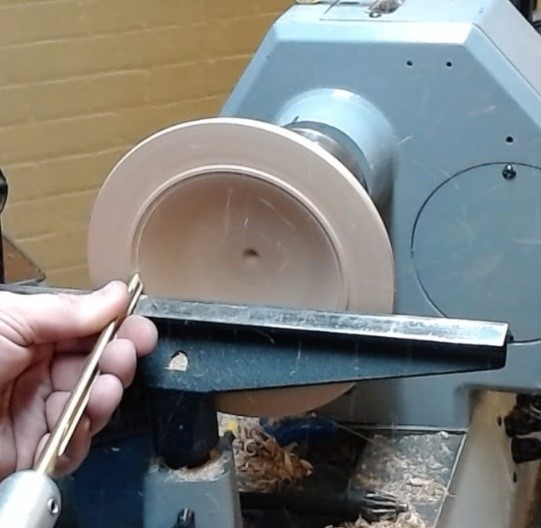
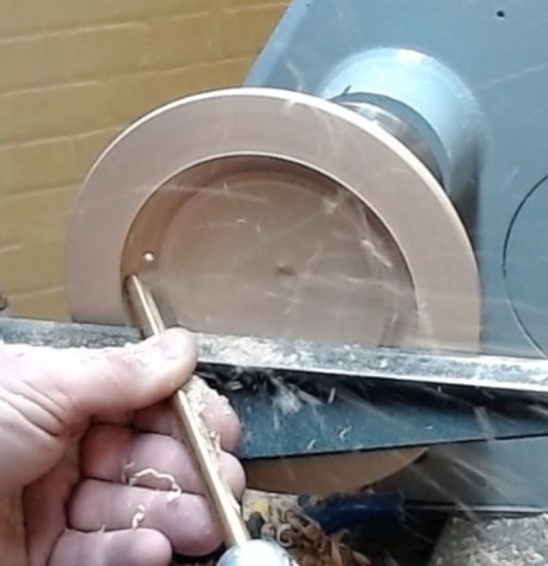
The evening opened in the usual way with Richard welcoming new members and guests plus a few notices before introducing Les. Les started off by stating that he had brought his dad back to the club for the evening Bill Thorne past chairman and mentor of the club when we were based in the St John’s building before Covid. I will do my best in writing this newsletter, as his demonstration was more about techniques rather than an actual project and will contain more photo’s than usual. With the bowl blank fitted on the lathe, the first thing he mentioned was how a spindle turner would turn a bowl and secondly that although you could use a Spindle Roughing Gouge it is not the tool to use as it has very thin tang Photo 1. The next thing to do was to true up the outside of the blank photo 2 all the time Les was explaining to keep the bevel rubbing. Next was to start turning the outside of the bowl and photo 3 shows the side being straight this is the way a spindle turner would start his bead, also you will see Les using his dividers to mark his chucking point.
Photo 1
Photo 2
Photo 3
From this position, Les was able to turn his spigot onto the base of the bowl before starting to shape the outside photo 4. You will notice in photo 5 that he has now began to dome the outside to his desired shape again explaining about the difference between pull and push cuts.
Photo 4
Photo 5
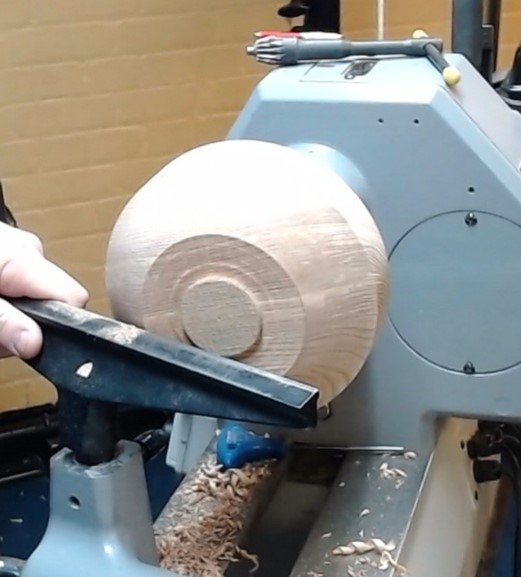
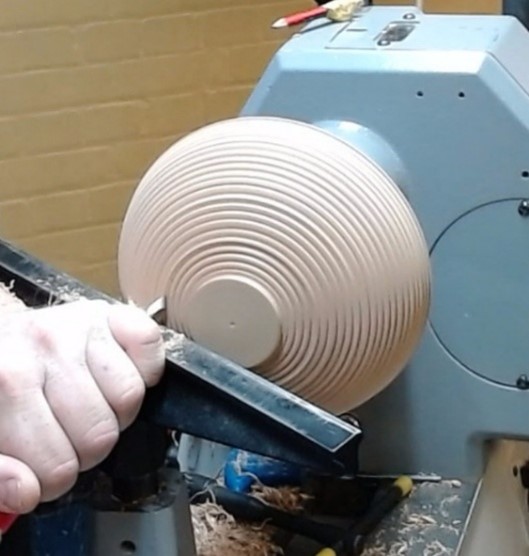
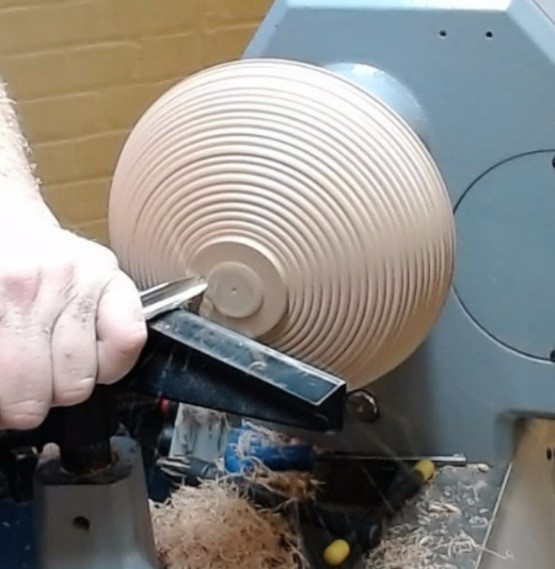
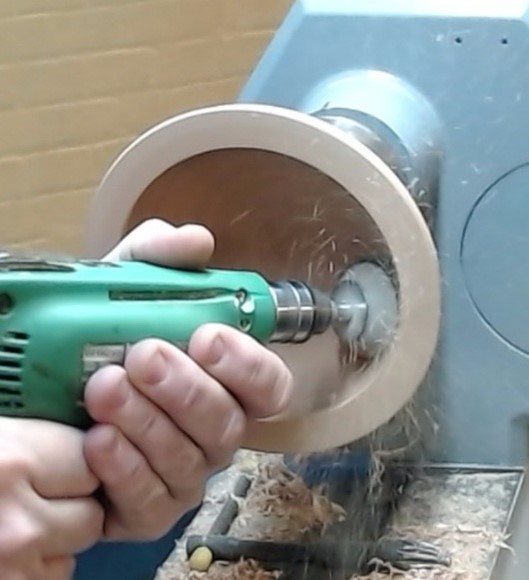
Once the base shape was finished, Les lightly sanded it ready for the texturing of the bowl, shown in photo 6. The texturing ie- the beads was obtained by rolling a 3/8” spindle gouge over each bead without removing the gouge from the work until the whole of the base was finished giving it a second pass to crisp up the beading before sanding Photo 6. The last thing to do was to clean up the foot ready for reversing photo 7.
Photo 6
Photo 7
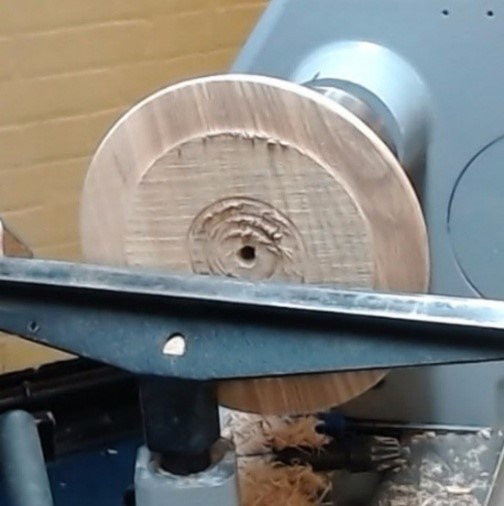
Removing the bowl from the screw chuck it was ready for reversing on to the scroll chuck ready to commence hollowing out the middle of the bowl it also shows the outer rim faced off. Photo 9 shows the blank partially turned.
Photo 8
Photo 9
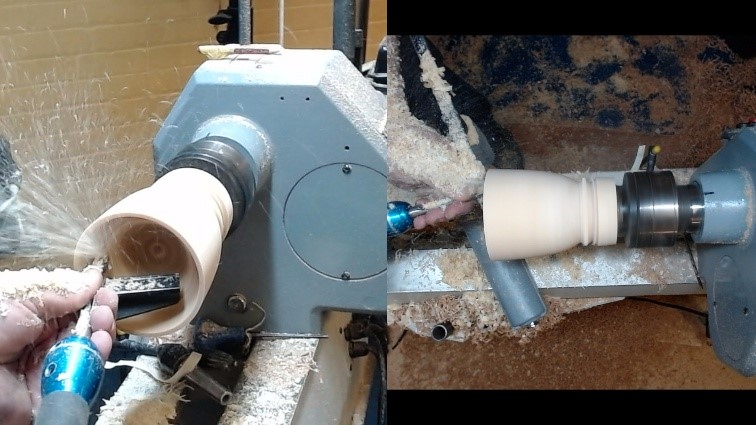
All the time Les was turning, he was explaining about the bevel rubbing and that his gouge had a secondary grind to help when going round the bottom of a bowl. The next part of the project was the under cutting of the bowl very difficult to describe but photo 10 shows th1e angle that was needed to start the undercut. With the bowl completed, it was time to add a coat of oil to help keep the dust down whilst power sanding photo 11. You will notice that les is using the power sander at between ¼ past and ½ past the hour, which gives better, control.
Photo 10
Photo 11
Les finished off the evening by picking up a log Eucalyptus to make a Goblet photo 12 shows the outside shape whilst photo13 gives you some idea what it looks like when a light is added to the equation. This extra facility gave Les the opportunity to turn the sides down very thin.
Photo 12
Photo 13
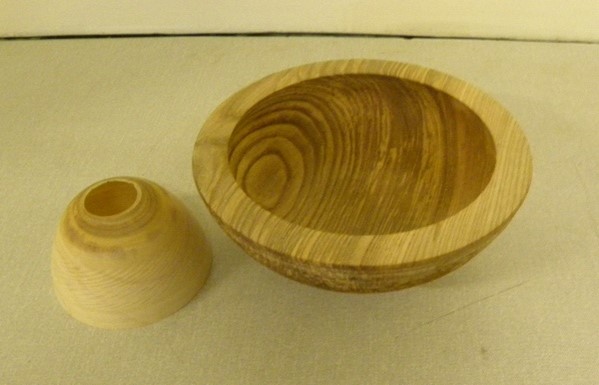
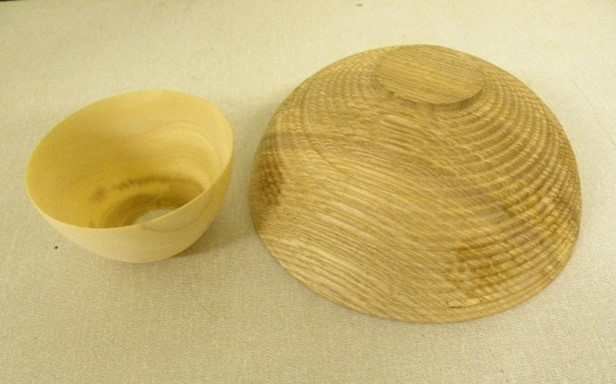
The last four photos show both sides of the finished bowl and the remains of the goblet.
Written by Don Smith with photos from the club computer and myself.
We use cookies to ensure that we give you the best experience on our website. If you continue to use this site we will assume that you are happy with it.