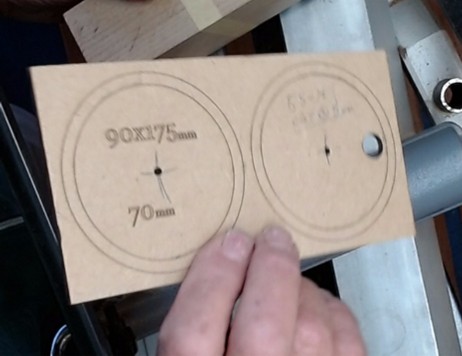
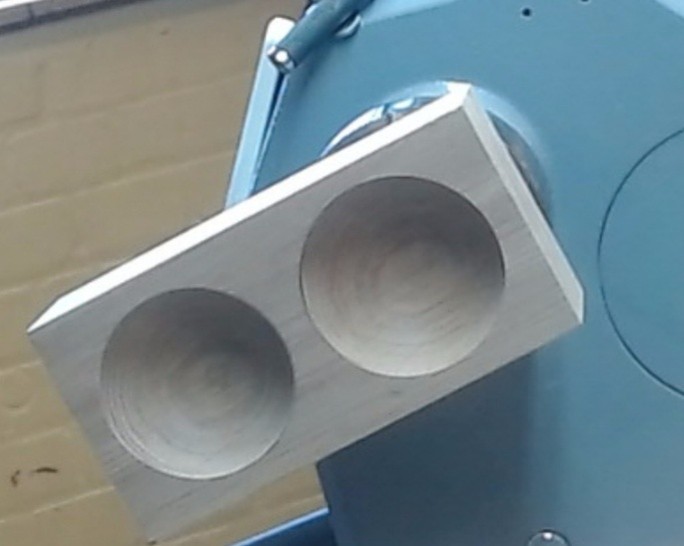
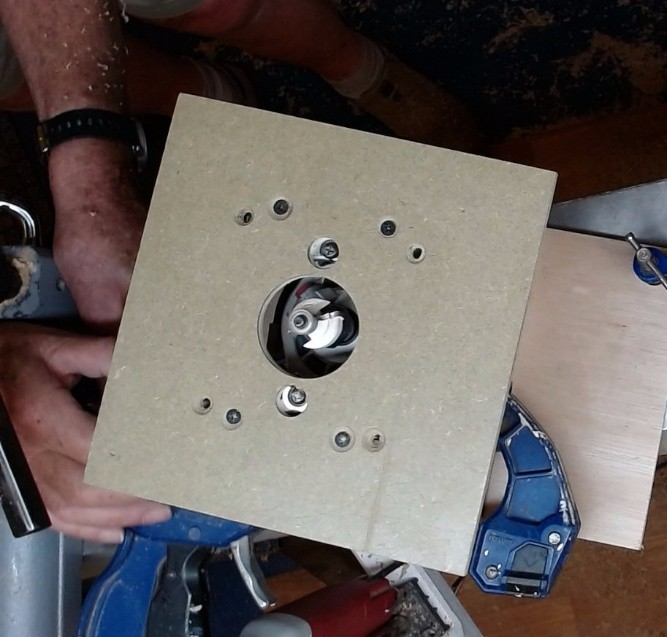
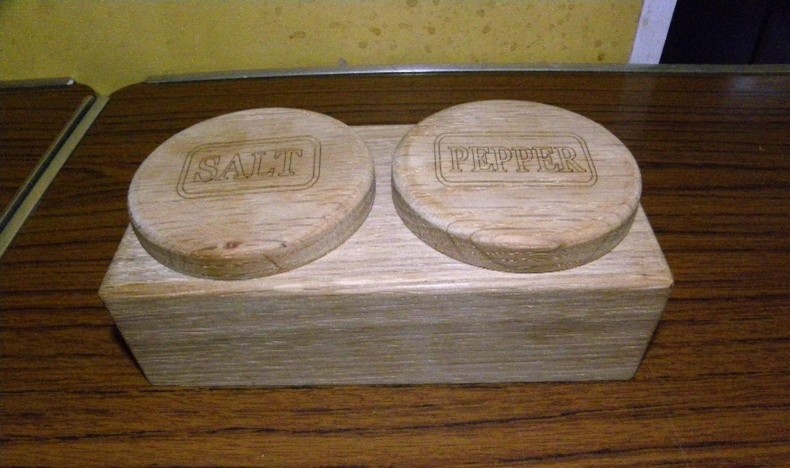
After the usual welcoming of guests and new members, Richard gave out a few notices before introducing John. John stated that this evening he would be showing how to turn a Salt & Pepper Box passing a sample round for the members to get some idea of what the object looked like. Picking up a blank which he had drilled two 50mm holes in the base before bring them along. The position of these holes was determined by using a template as seen in Photo 1.
The blank size is marked on the template with two drilled centre points and four rings. The template is the same size as the top of the blank and by using this on the base John was able to mark of two centre points to enable him to use the pillar drill to drill the two chucking points accurately.
Photo 1
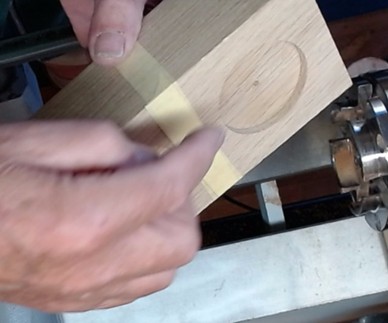
Photo 2
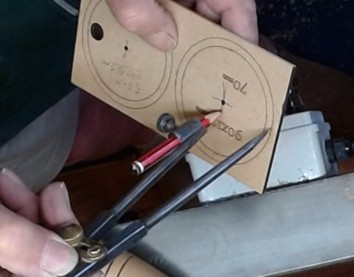
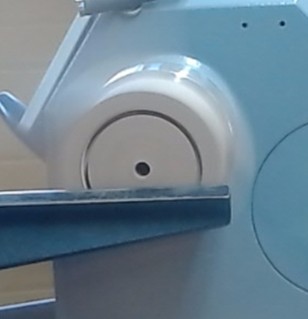
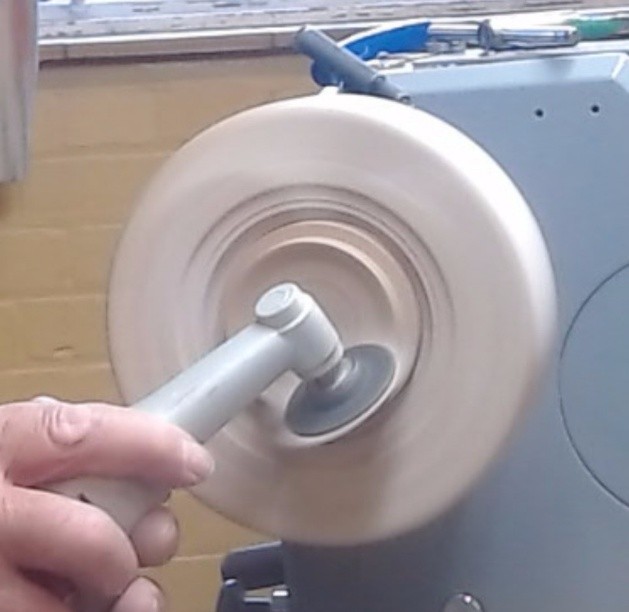
In photo 2 only one chucking point is visible due to John explaining how these holes will be used. Turning to the lathe, he placed the blank on to the chuck which left half of the block off centre explaining that when you set up the tool rest to be sure that the block ran free and also to give you safety when the piece is flying around. Picking up his template he placed the point of his compass on to the inside circle and adjusted them until the pencil was over the centre hole Photo 3. Turning to the lathe and with the lathe switched on he adjusted the speed until the shaking was neutralized marked the centre and using compasses drew the first registration mark Photo 4.
Photo 3
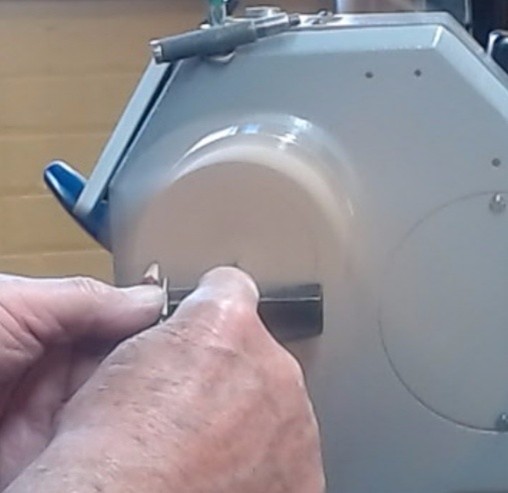
Photo 4
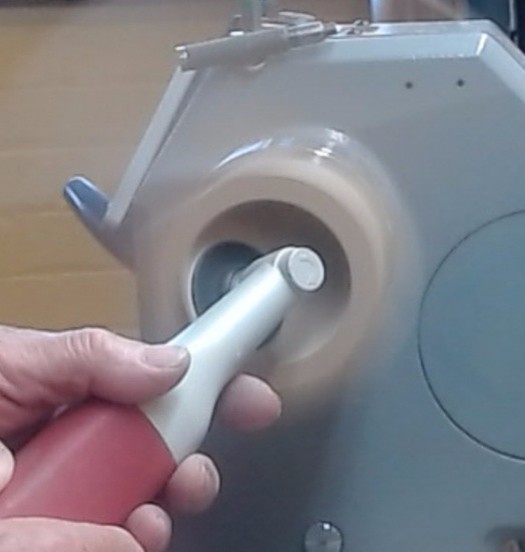
This established the position of the first bowl, picking up the parting tool turned a groove just on the inside edge of the circle. The next part of the operations was to take a Jacobs chuck with a10mm drill the drill had been marked to the required depth. Drilling it that depth allows him to find the base of the bowl. Photos 5 & 6.
Photo 5
Photo 6
Reaching the bottom of the bowl John picked up a Round nose scrapper and removed any uneven ridges before sanding. Photo 7 show the sanding once satisfied; removing it from the lathe reversed it to start the process all over again to make it into a two-bowl condiment set. Photo 7 is showing the sanding whilst photo 8 shows the finished piece still on the lathe.
Photo 7
Photo 8
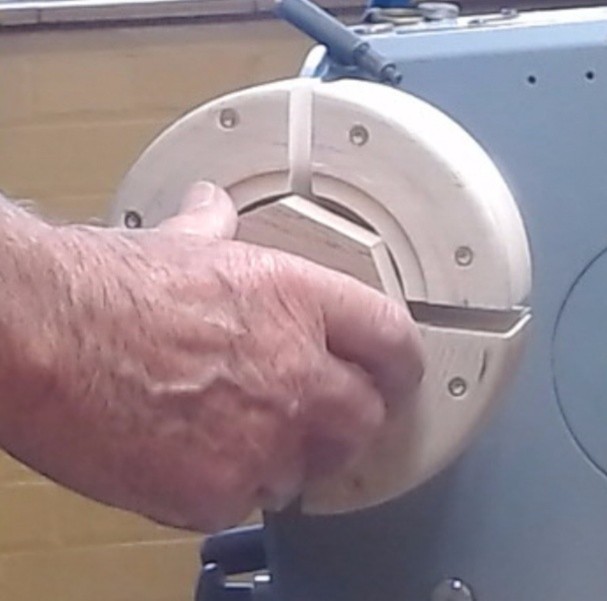
Half time and after a well-earned cup of coffee John explained how to produce lids for the two bowls. Firstly, he showed us a hexagon shaped piece of wood and told us that accuracy on cutting it to this shape was essential. John showed a jig to show how to cut it accurately to this shape. Taking a square piece of wood large, enough to produce the large circle on the template using the jig shown in Photo 9 and using his band saw cut the corners. Using a soft jaw chuck fitted the hexagonal piece in to the jaws as you see in photo 10.
Photo 9
Photo 10
Again, just like the bowls on the first turnings he found the centre of the lid, then setting his compass using his template and the large outer circle transcribed the dimension on to the lid. This of course is the top of the lid, sanded and the lid would then be finished off before reversing it to turn the inside. Again taking the original compass transcribed the line to the blank and turned it down to size doming the inside as you proceeded. Photo 11 shows the sanding
Photo 11
Photo 12
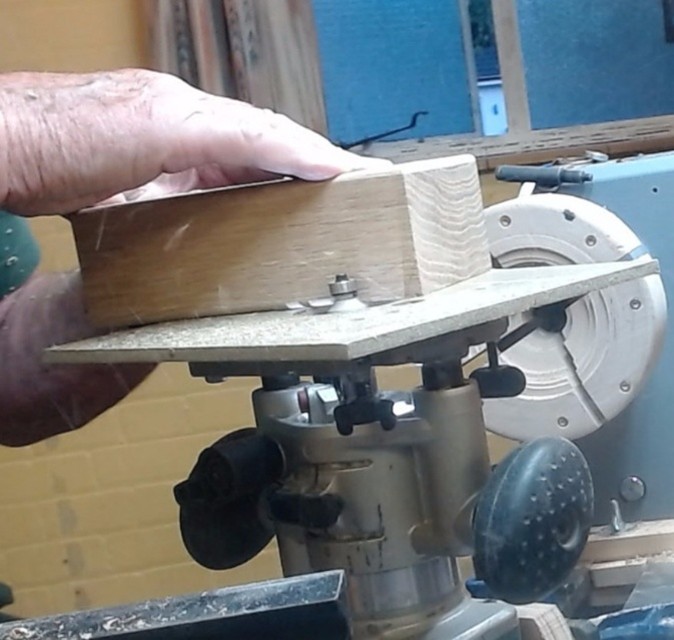
This wasn’t the end of the demo John produced a Router set up on a portable table so that he could explain how to finish off the edges of both the box and the lids photos will follow after I have explained another small detail. You will remember that at the very beginning John told us how to drill the mounting holes to fix it on to the chuck. John now told us how he removed them once everything had been finished. Taking the block to the Band saw, he would very carefully saw the bottom of the box off and sand it to the same standard as the rest of the bowl. Routing the edges before finishing with a 50/50 mixture of Danish Oil and White Spirit. Allow three or four hours between before applying coats of undiluted Danish Oil.
Photo 13
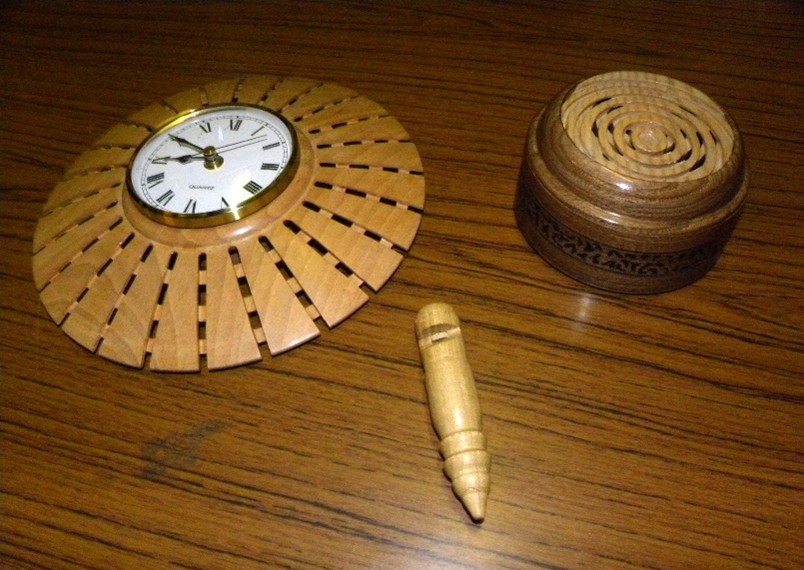
Photo 14
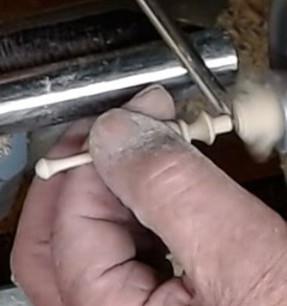
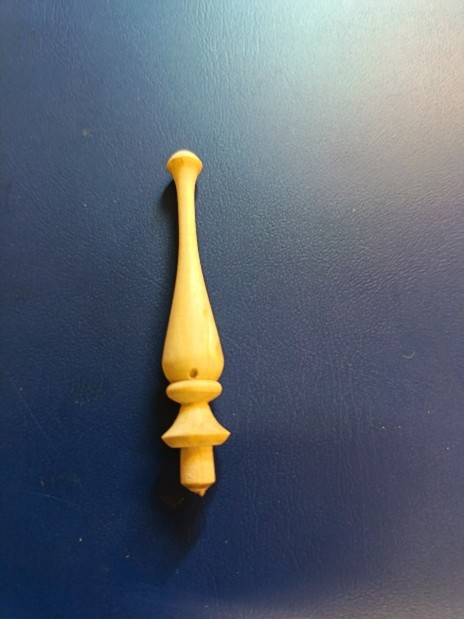
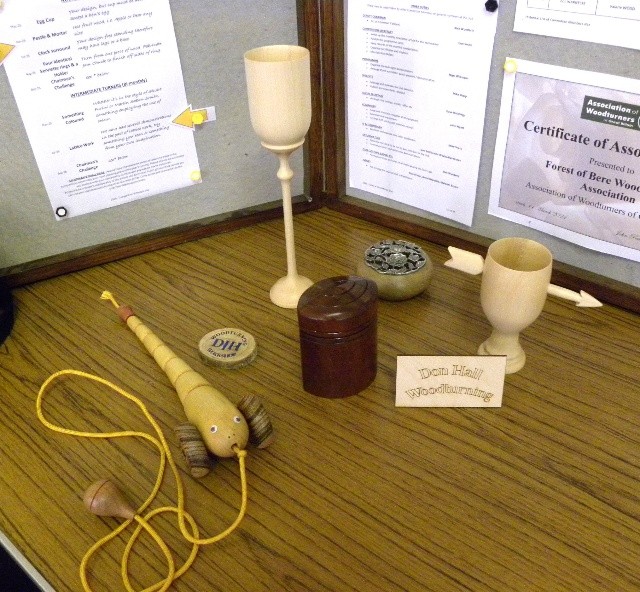
The last two photos show John turning a fine Finial whilst the last photo is again the finished piece. Photo 14 is of the finished box. Photo 15 is the finial partially turned on the lathe whilst photo 16 is again the finished product. Photo 18 shows competition pieces from the past and displayed by Don Hall and photo 19 is the balance of the gallery table.
Photo 15
Photo 16
Photo 17 - Competition Table
Photo 18
Photo 19
Written by Don Smith
Photographs from the club computer and myself.
We use cookies to ensure that we give you the best experience on our website. If you continue to use this site we will assume that you are happy with it.