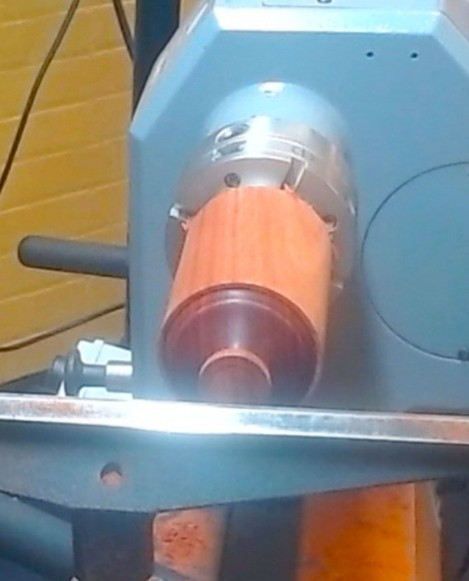
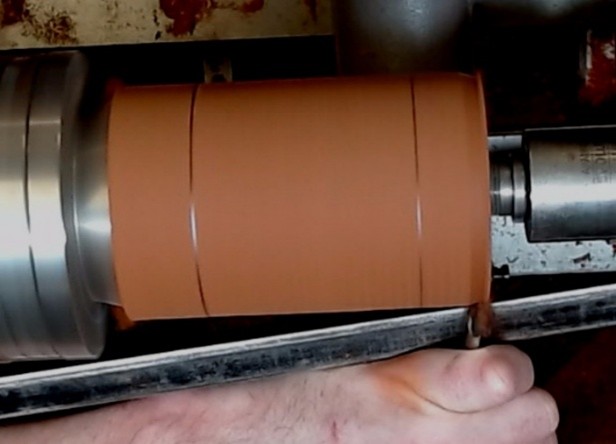
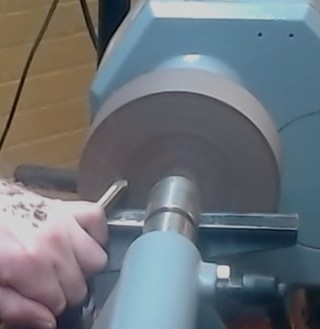
After the usual notices, Richard introduced Martin and his wife Natalja to the audience who thanked everyone for inviting him back again for a third time. Martin stated that the piece tonight would not involve colouring but the e would be make was a Droplet Clock. The first thing was to centre up a 6 ½ by 3 inch square section of Padauk (165mm by 76mm) placing it between centres on the lathe it was turned to the round. He explained at the time he would examine the timber for any beautiful grain structure before adding his chucking spigot, the end with the less configuration would be the end for the spigot. However, in this case it did not matter.
Photo 1
Photo 2
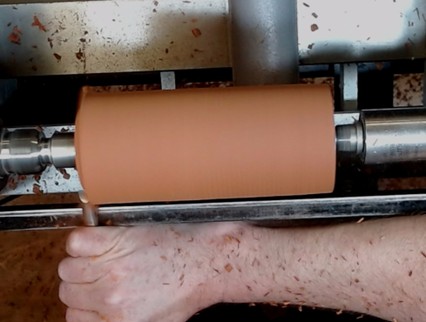
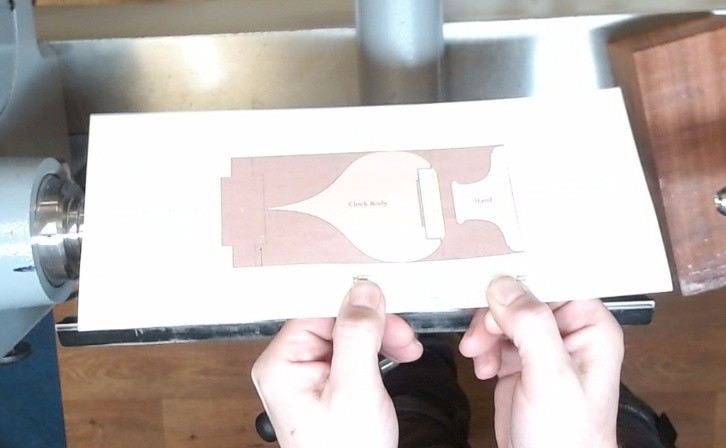
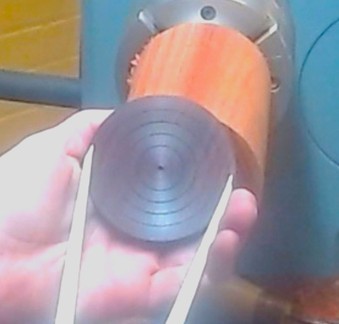
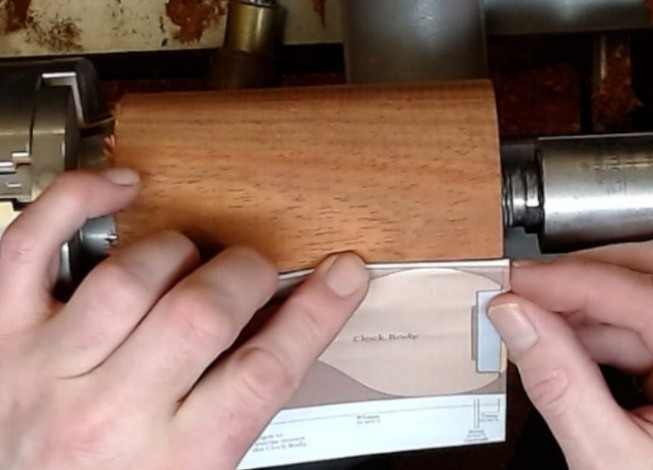
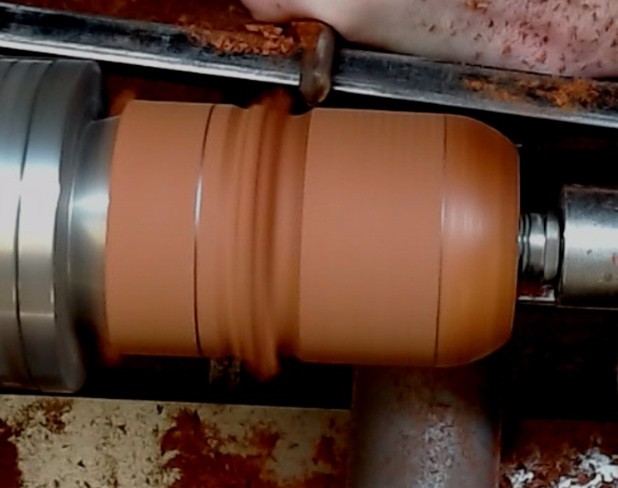
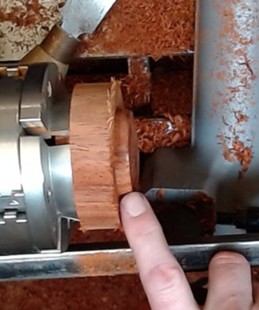
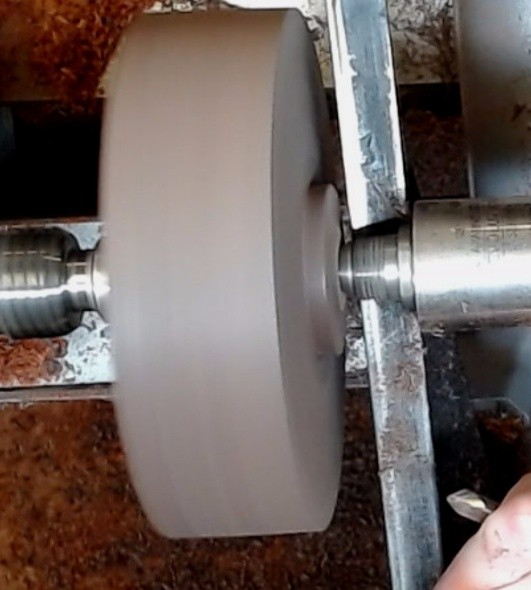
Photo 1 shows the piece turned to the round also showing the spigot turned on the end. Photo 2 shows the template that will determine the correct dimensions for the shaping the piece. Fitting the object piece into his chuck he started turning a concave shape to the base adding some ring features to hide the centre point made by the live centre. Sand and polished. Using the template, the first marks defined the height of the pedestal. Photo 3 whilst Photo 4 shows those marks.
Photo 3
Photo 4
It was now time to start the profiling of the pedestal using a ½-inch bowl gouge using the tailstock as a steady the shape started to take place Photo 5.
Photo 5
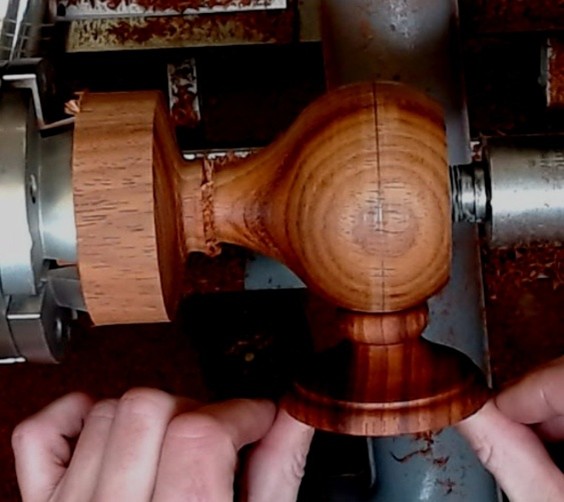
Parting the base off from the main block the face needed trueing up ready to turn a recess for jam chucking. A point to mention here is to make certain before parting off that the diameter of the base is smaller than the bulk piece otherwise, you will not be able to make your jam chuck. Photo 6 shows Martin setting his callipers to just under the diameter of the base then transferring this dimension on to the main piece. The next part was to turn a recess in the base about 6mm to 7mm deep stopping at the line and slowly turn the edge away until you got the base fitting in the recess. This needs to be a push fit so that you can finish of the top of the base by concaving it to form a cup form. Photos 7 & 8 show the base inserted in the jam chuck.
Photo 6
Photo 7
Photo 8
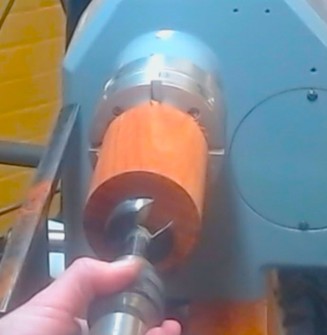
Once satisfied Martin removed the base from the main body and proceeded to remove the jam chuck by trueing up the face. The next stage was to make the aperture to take the clock mechanism, which has a diameter of 47mm; using a 45mm Forstner bit drilled a hole approximately 7mm deep. Then using a multipurpose tool proceeded to refine the aperture until the clock fitted snuggly. Photo 9 & 10.
Photo 9
Photo 10
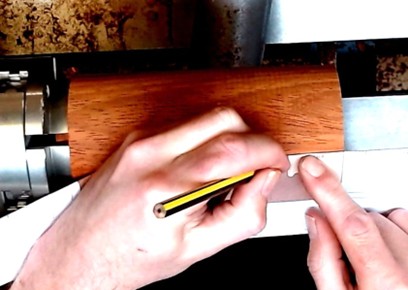
Satisfied with the fit of the clock Martin then picked up the template marked off the turning points for the clock housing photos 9 & 10. It was at this point that Martin explained that you needed to mark a line around the clock about 5mm wide so that you had a mark to turn down too giving you a flat face rather than turning right up to the clock. In photo 11 you will see the positioning of the template whilst photo 12 shows the two essential lines.
Photo 11
Photo 12
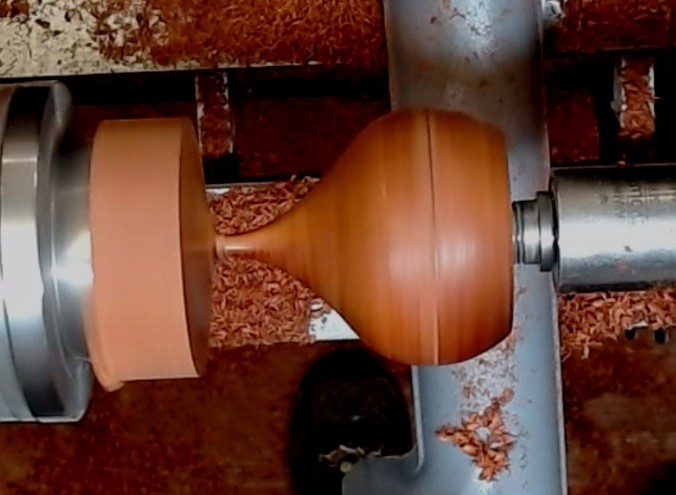
It was now time to start profiling the main clock body using a spindle gouge so starting from the clock end mentioning that the line nearest that point needs to be left on has a witness point carried on with the profiling as seen in photo 13. Whist in photo 14 Martin checked that the base fitted nicely to the ball of the clock ball.
Photo 13
Photo 14
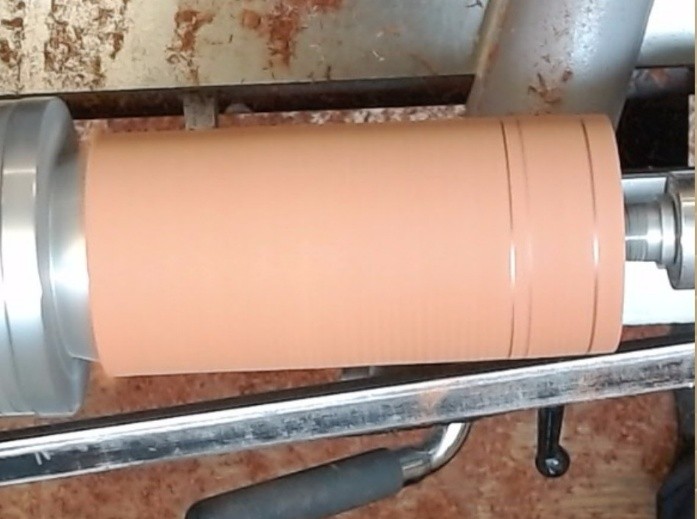
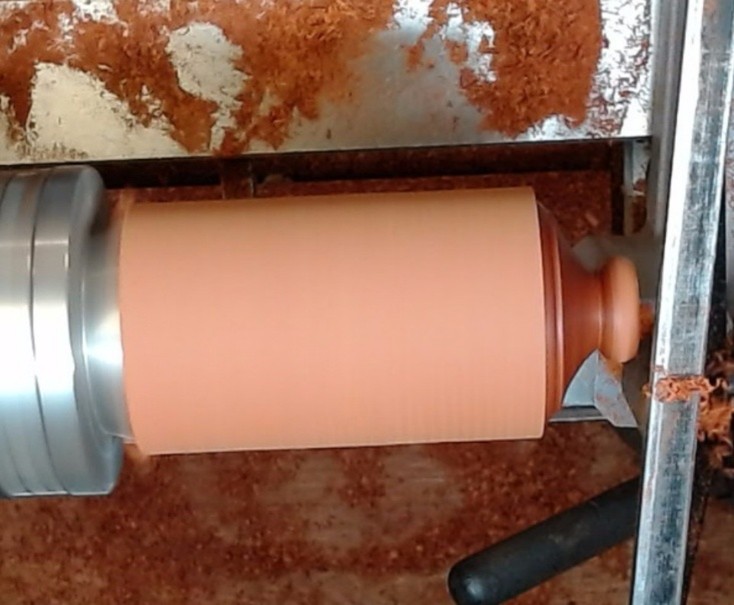
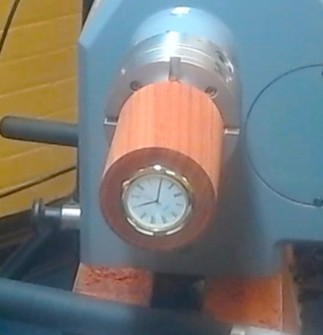
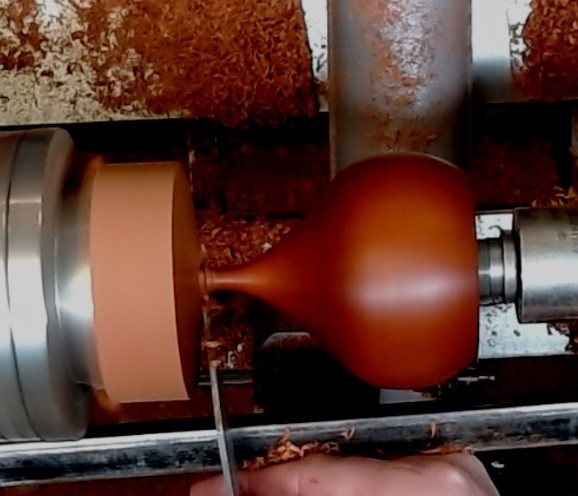
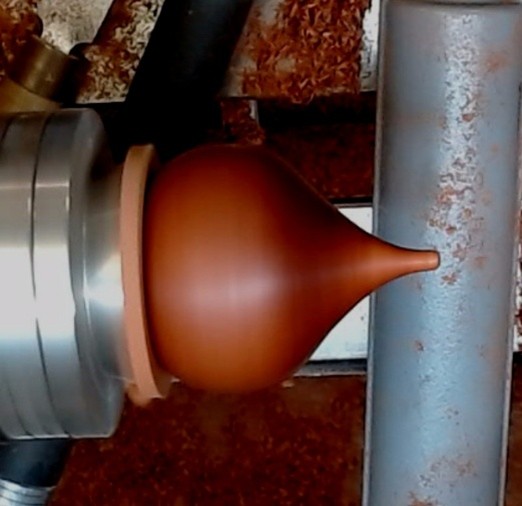
Photo 15 shows the clock Droplet turned (notice the pencil line on the ball) and photo 16 shows the piece sanded and polished ready for parting off.
Photo 15
Photo 16
With the main body parted off it was now time to make a male jam chuck to enable him to refine the top of the Droplet. So taking his callipers setting them slightly larger than the clock aperture marked a circle on the face. Using the multipurpose tool started removing the waste down towards the line and then carried on refining the Tenon until the body fitted snug and tight to enable the tip to be turned and polished. Photos 17 & 18.
Photo 17
Photo 18
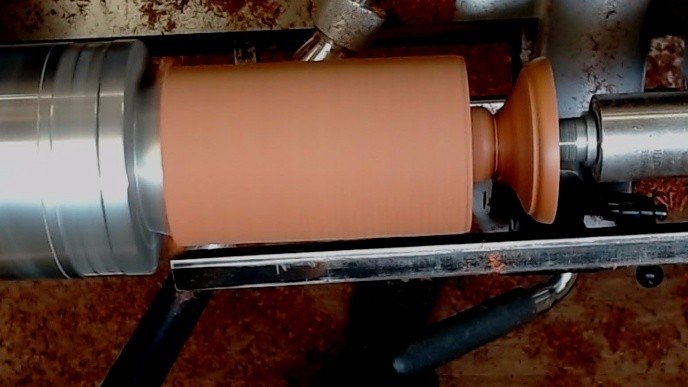
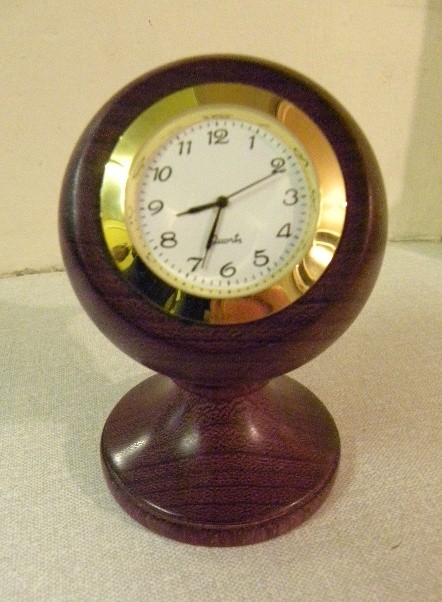
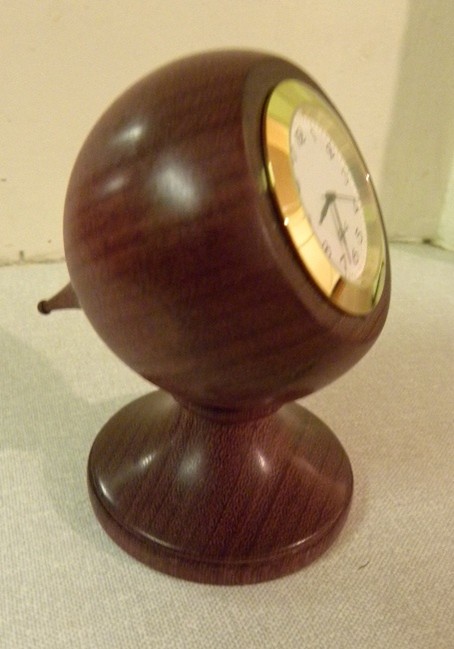
The next two photos show the final piece.
Photo 19
Photo 20
With this project, finished Martin described how he turned a bowl of which I only have two photos shown below it was mainly to show how to start turning by adding a chucking point by putting the bowl blank between centres. Placing between centres, he trued up the outside before facing off and adding the chucking point. Martin carried on turning the underside profile making a second foot for the bowl too eventually sit on (the chucking point would be removed by using a button jaw chuck when the bowl was completely finished).
With the demo, finished Richard thanked Martin for an excellent demonstration to a round of applause. Martin has asked me to pass on his thanks to all those members who purchased items from his wife Natalja As he forgot to thank everyone on the evening.
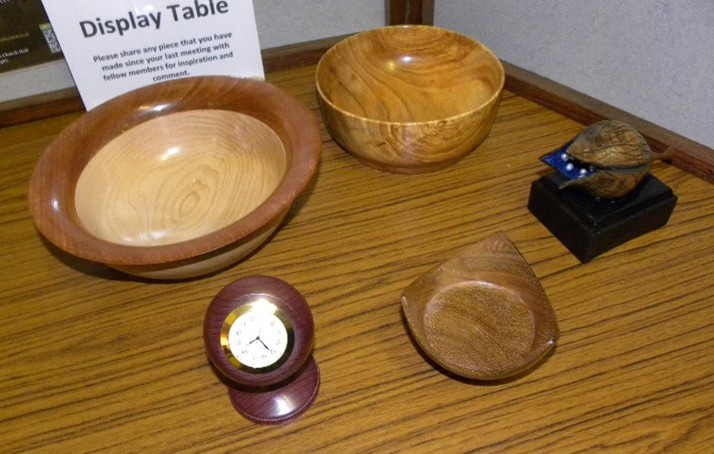
These last three photos are from top left are the Beginner’s competition top right Intermediates whilst bottom left is of the display table.
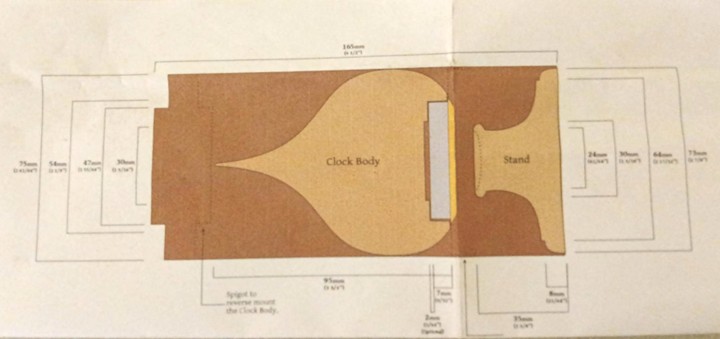
The last picture is a drawing of the project and I hope it helps you turn a Droplet Clock. Written by Don Smith with photos from the club computer and myself.
We use cookies to ensure that we give you the best experience on our website. If you continue to use this site we will assume that you are happy with it.