CLUB NIGHT 20TH JANUARY 2026
DEMONSTRATION BY ANDY JAMES
The evening started in the usual way with notices, welcoming guests and new members before our chairman introduced Andy James.
Andy arrived with his wife and thanked everyone for inviting him down for the evening, he explained that his forte’ was segmented turning and would show and describe how he made the individual segments for each piece that he made.
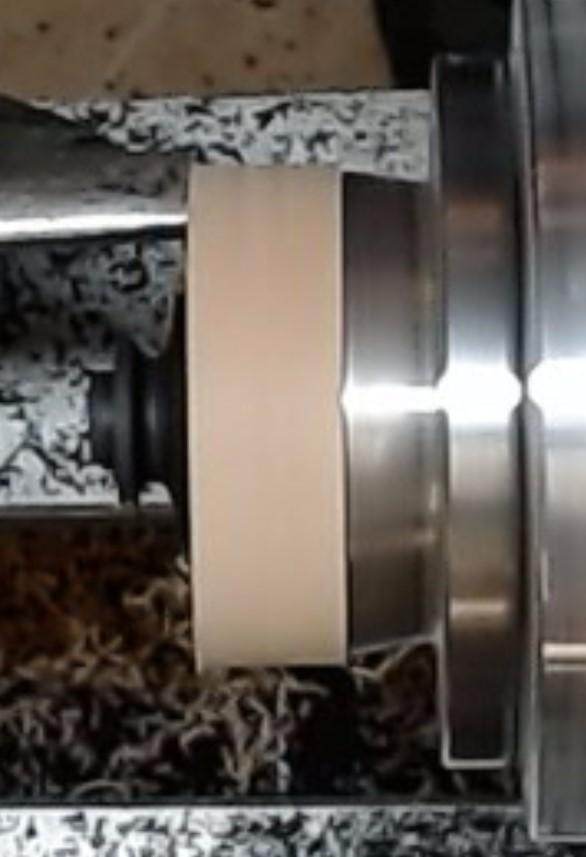
The first thing that he showed was already attached to the lathe (photo 1) which was the start of a small vase.
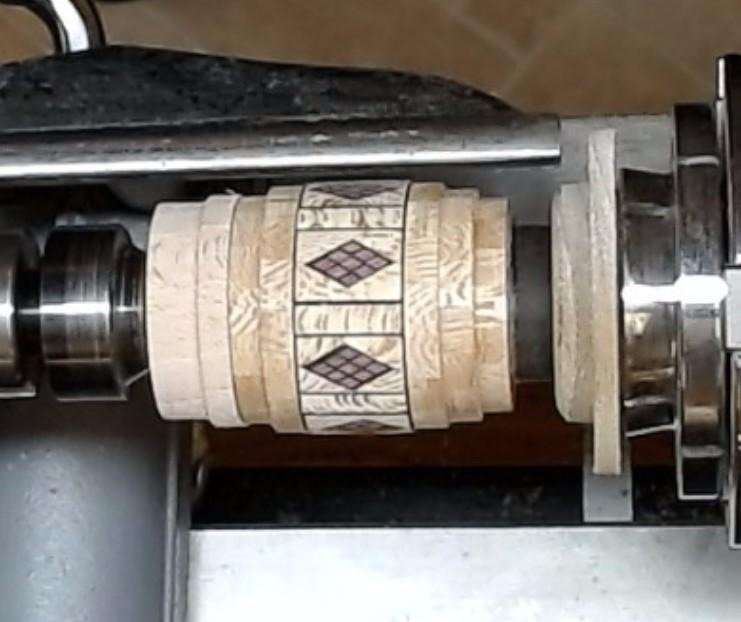
Andy then went on to describe how he had made a sledge for his circular saw to enable him to cut the segmented pieces accurately before gluing them together. Before returning to the piece on the lathe.
The main body had been glued to a piece of Ebony at the head stock end, a hole had already been drilled in the top of the vase to take a scrap of wood with a spigot on so that the tailstock could be brought up. The piece was now ready to start turning photo 2.
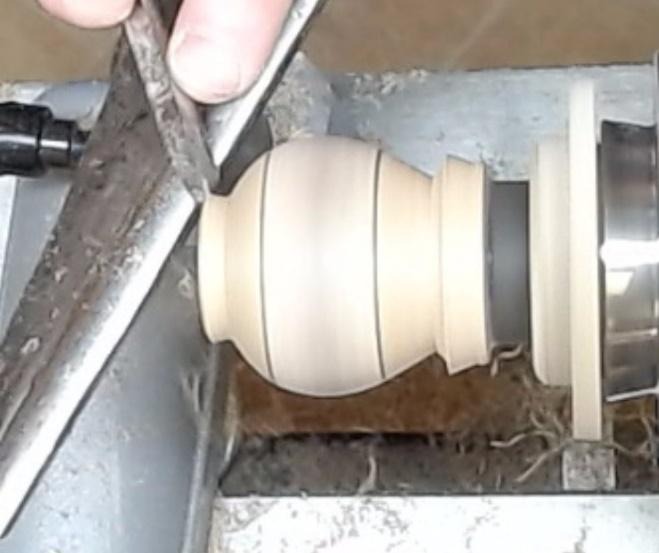
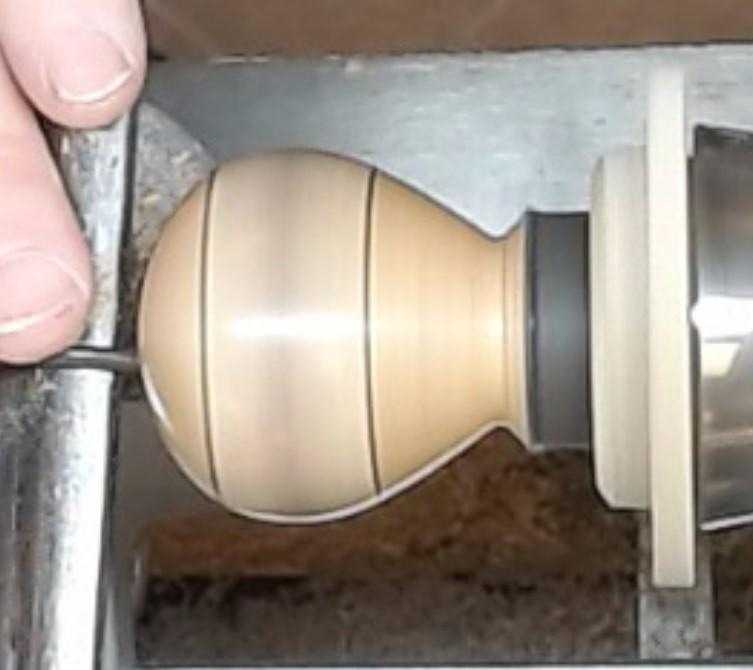
Andy continued to turn the vase until the shape that he wanted was achieved but leaving the base a little thicker to give him stability for when he hollowed out the inside.
It seemed impossible that Andy would be able to hollow out the vase through a 10mm hole so using homemade tools made from Allen Keys he was able to achieve this. (The only photo I have is showing the tool inserted into the vase). Photo 3
Once satisfied that he had removed enough of the inside to give a fairly uniform wall thickness, using a pump blew out the shavings from inside.
The next operation was to make the top piece which was to fit onto the vase, so he removed the piece from the lathe and picking up a waste piece of wood which had already been turned with a spigot and a piece of Ebony glued onto it, placed into the chuck. Photo 4
Andy then turned a spigot on the piece of Ebony to fit the aperture in the top of the vase, tthe centre was dished out then shaping the piece before parting it off from the waste block.
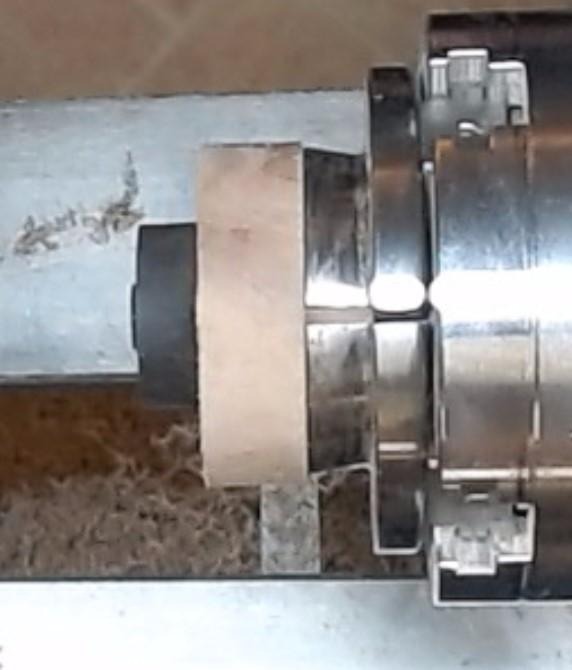
Photo 5
Placing the vase back on to the lathe the top was fitted to the vase by enlarging the aperture until it was a firm fit, then glued it in place before continuing to shape the top. Photo 6
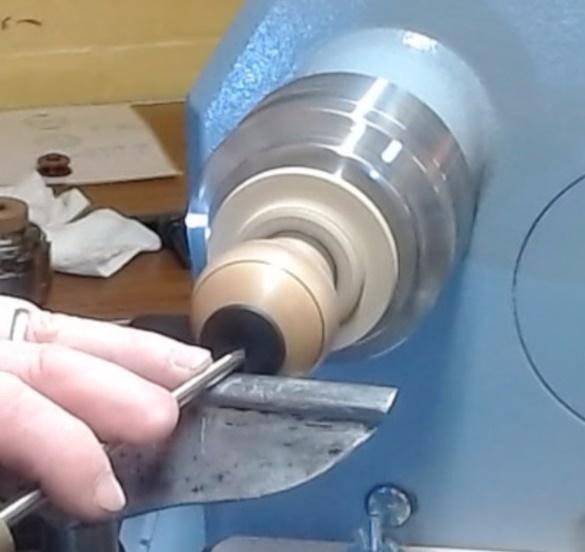
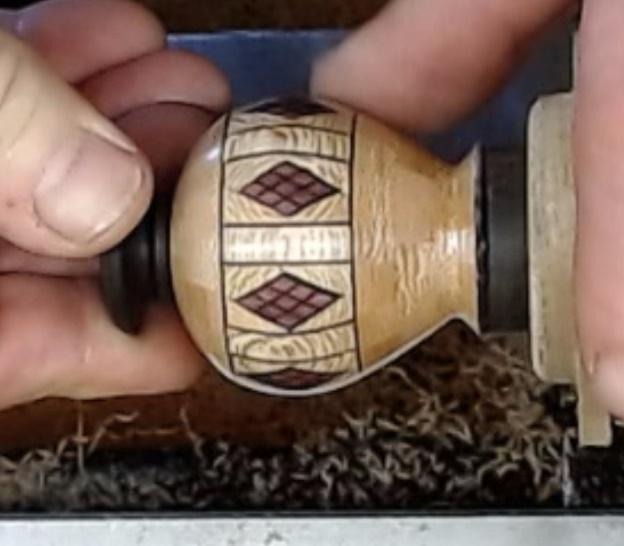
Photo 7 shows Andy shaping the inside of the top before using his homemade tool to marry up the inside shape. Satisfied he turned his attention to finalizing the base shape, with a final sanding a coat of sander sealer was applied before parting off remembering to undercut the base. Photo 8. Once the vase was parted off Andy used a three-mop buffing system to enhance the finish of the piece,
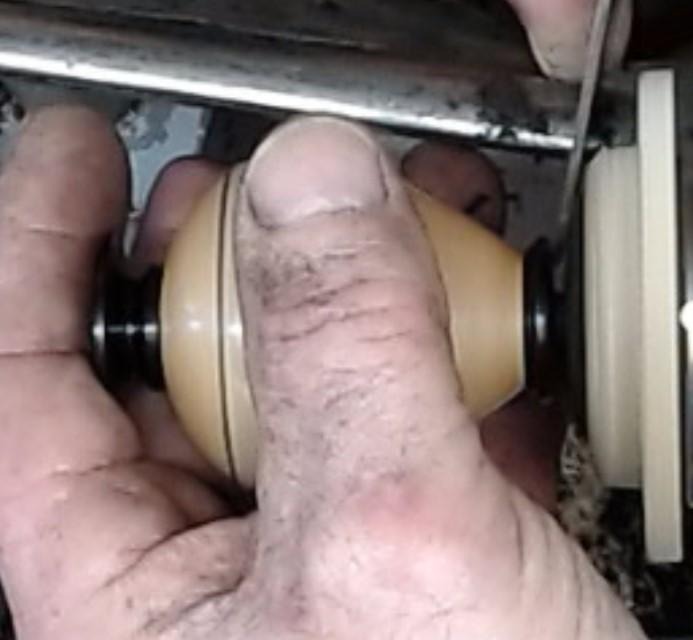
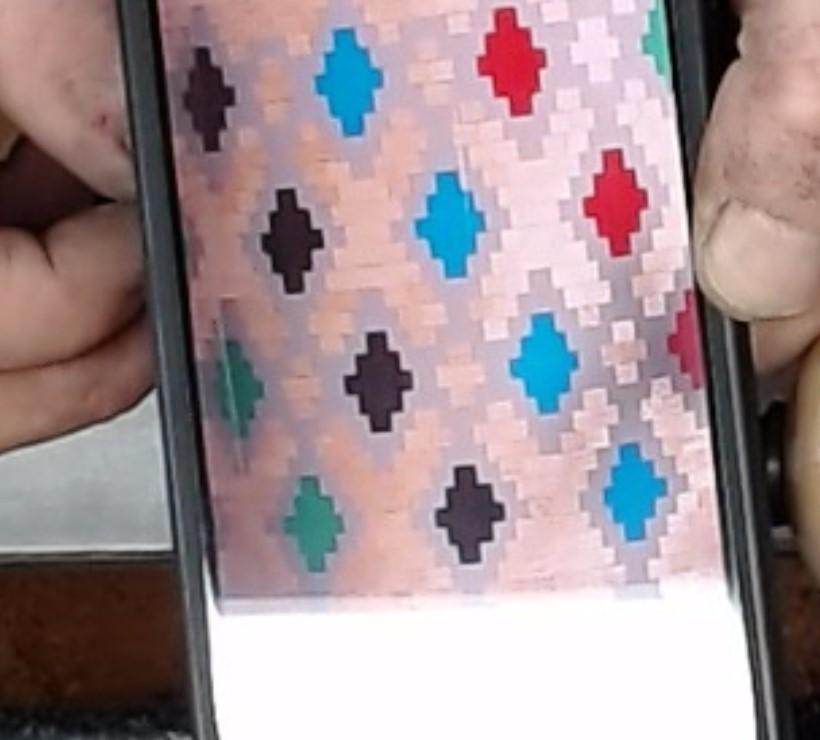
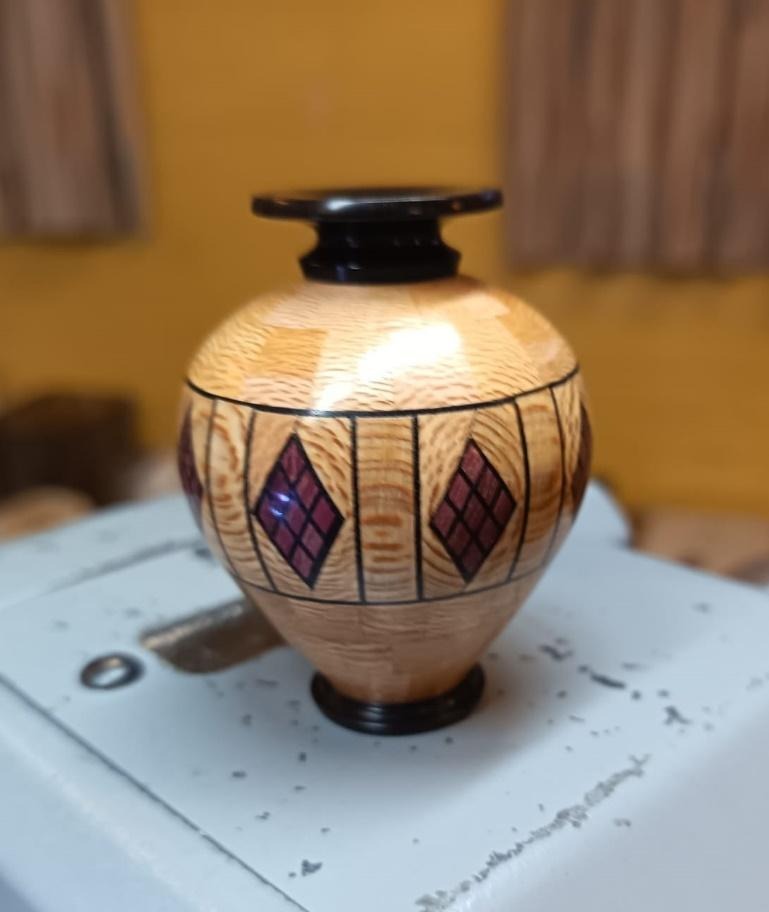
Photo 9 is a photo taking off his phone of a project that took 112 segmented pieces and 6 months to make whilst photo 10 is of the final piece.
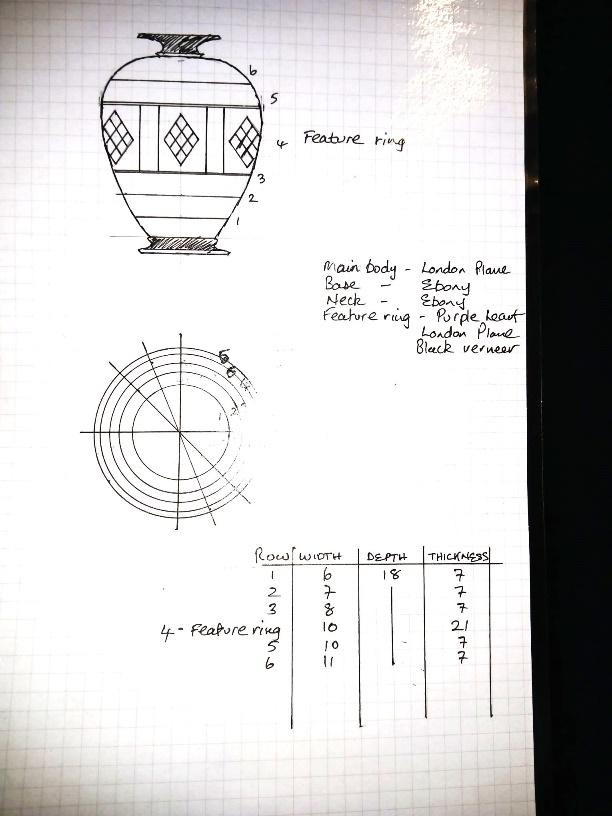
The drawing on the left is showing how the segments were made and the dimensions.
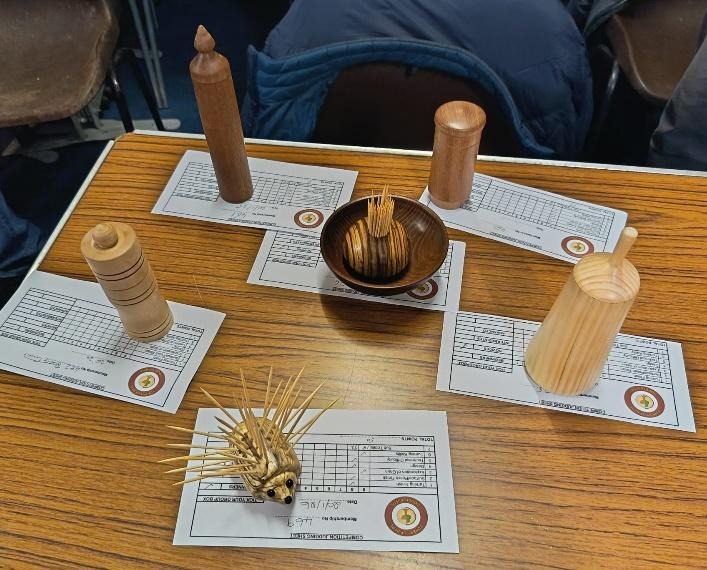
The last two photos show the competition tables.

Written by Don Smith photos taken from the club computer