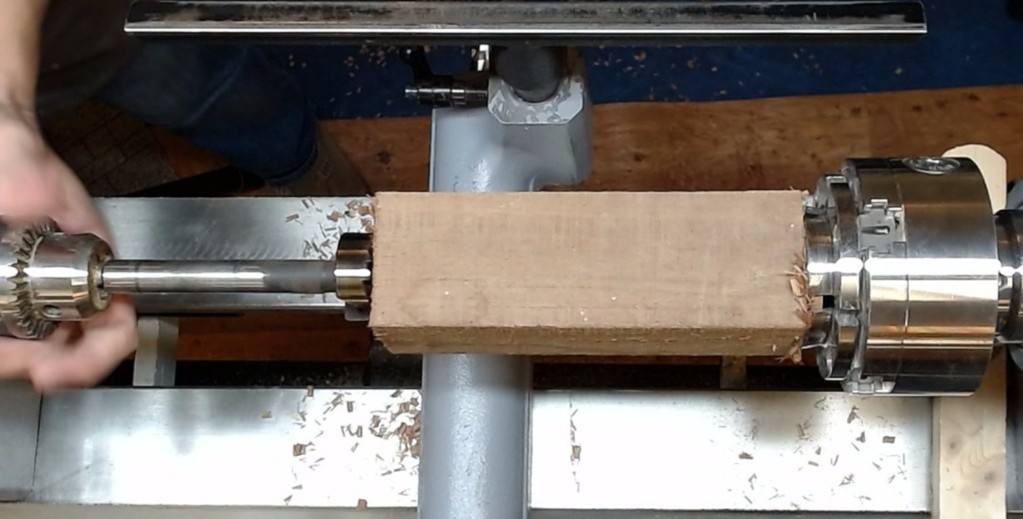
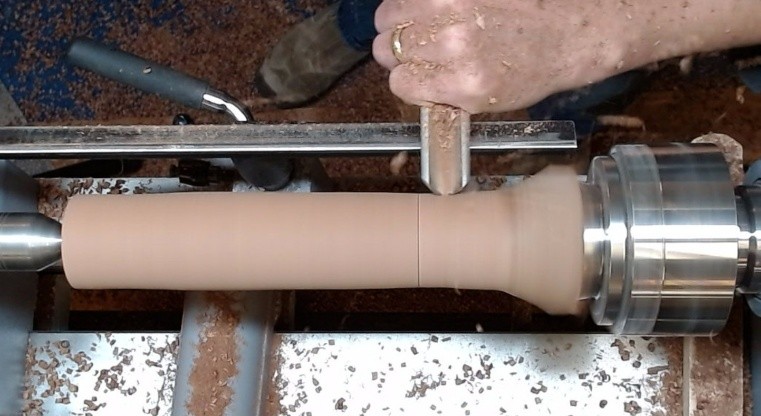
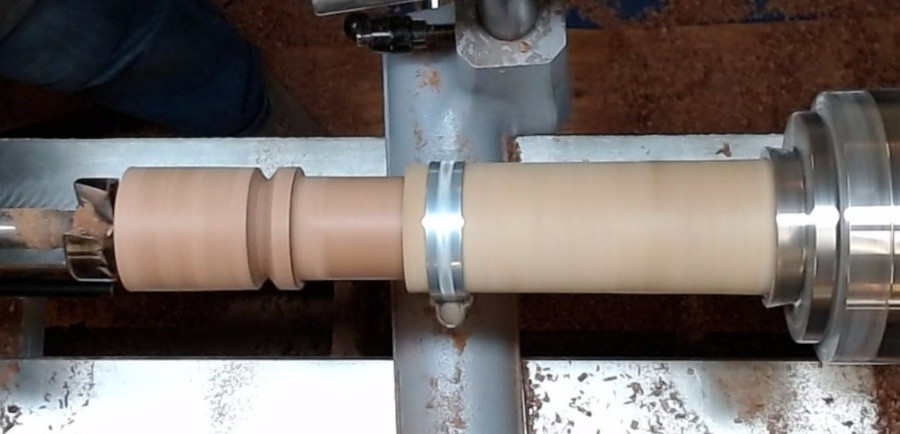
Richard opened the meeting with sad news about one of our members Tony Lay passing away just a few days ago and the clubs condolences sent to the family. After the usual notices welcoming guest and new members, Richard introduced Steve as to night’s guest speaker. Steve thanked everyone and explained that tonight he would be turning a Christmas cracker, which he had turned many off and in fact, one a prize in a competition outside of the club. Firstly taking two pieces of wood 7 inches by 2.5 square (180mm x 64mm square) marking off the centre on both ends. Explaining that he now needed to put a chucking spigot on one end of both pieces. He named them as the “Male” and “Female” parts of the cracker. Taking the female piece, it was mounted on the lathe lining up with the centre point so that he could use a Forstner drill bit to drill a 1.25 inch hole by 3.75 inches deep. Photo 1 shows the start of the drilling process.
Photo 1
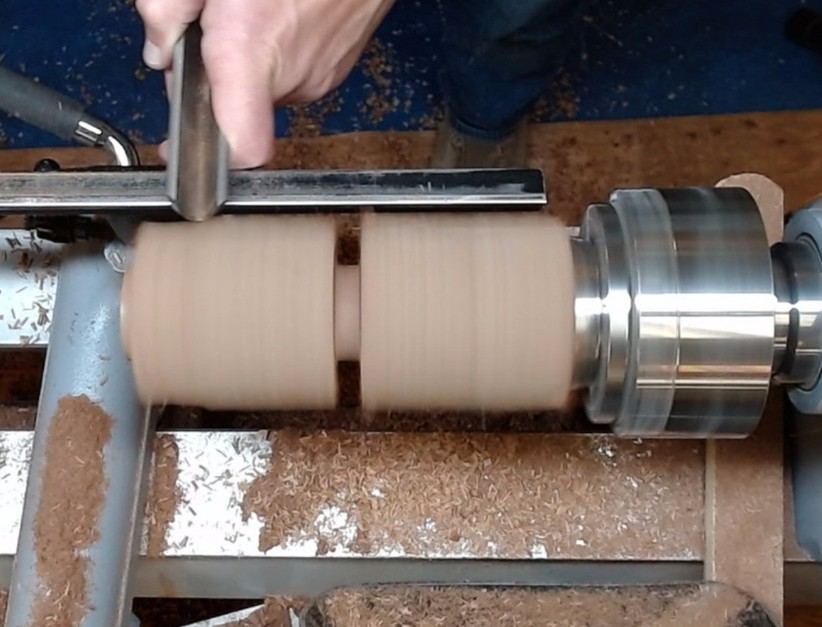
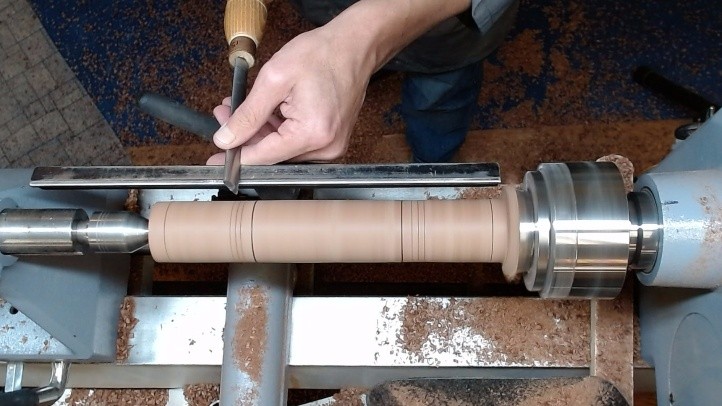
Once this piece was drilled, it was sanded and replaced on the lathe with the male block but this time a 1.5 inch hole was drilled to a depth of 4 inches. It was then time to mark out the length required for the inner tube. Photo 2 shows the sanding technique.
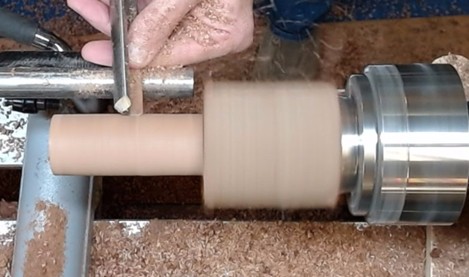
With the female piece still on the lathe and using a idiot stick Steve marked out where the base of the inner tube would end. Taking a parting tool, he turned the piece down to 1.5 inches and the turned off all the waste to that point. Photo 3 and 4
Photo 2
Photo 3
Photo 4
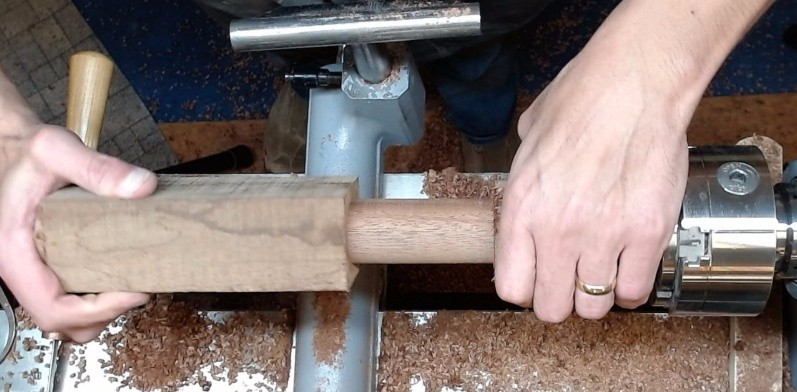
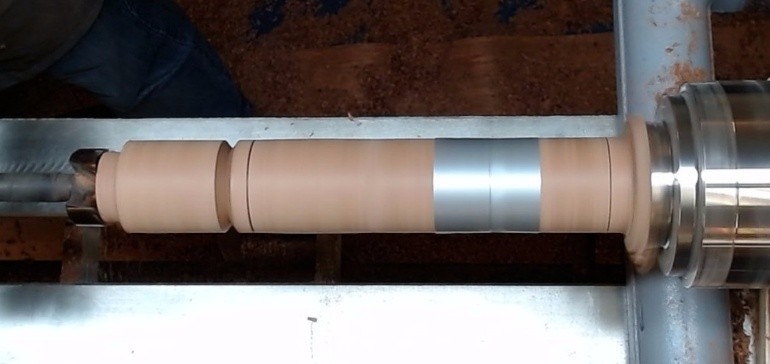
When the diameter of 1.5 was, getting close Steve checked the female against the male until he had a very nice fit once satisfied leaving the both piece on the lathe and using the tailstock as support turned the whole piece down to 2 inches (50mm). Photo 5 show Steve checking the fit whilst Photo 6 shows the cracker turned down to size.
Photo 5
Photo 6
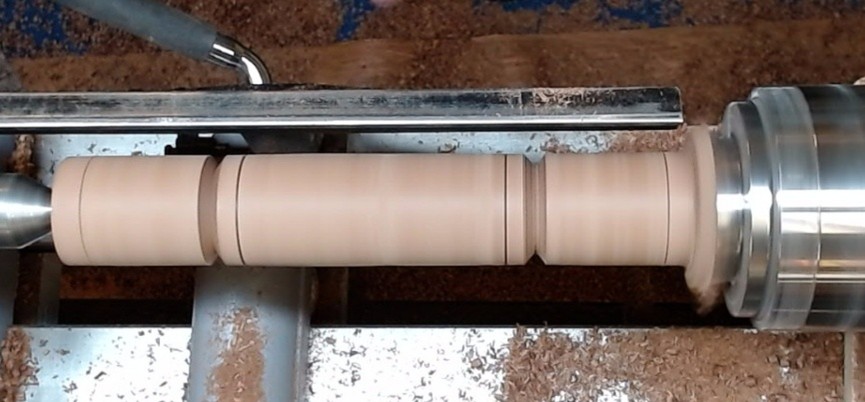
Once achieved, it was time to mark out the design of the cracker Photo 7. Photo 8 shows the burn lines and the groove.
Photo 7
Photo 8
This achieved Steve then placed tape around the join so that he could drill a 1.5-inch hole by 1.5 inches deep in the end of the cracker. Removing the tape Steve then sanded it before removing from the lathe. Photo 9 shows the taping.
Photo 9
It was now time to remove the whole object from the lathe explaining that his next operation required a jam chuck. Fixing the jam chuck in the lathe to take the male piece, describing how the chuck was constructed. When all was ready, he drilled a hole 1.5 diameter by 1.5 deep to finish off the cracker.
Photo 10
Photo 11
Photo 12
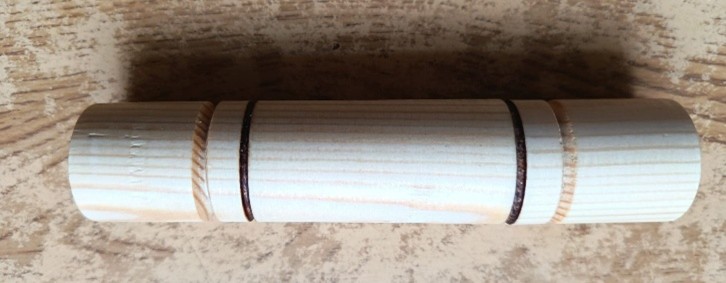
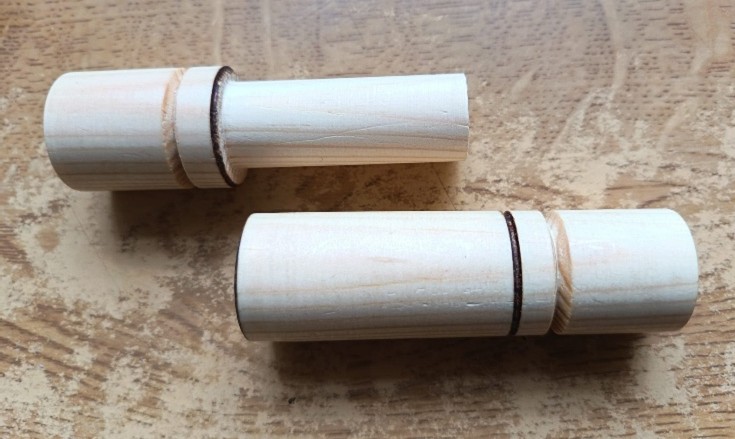
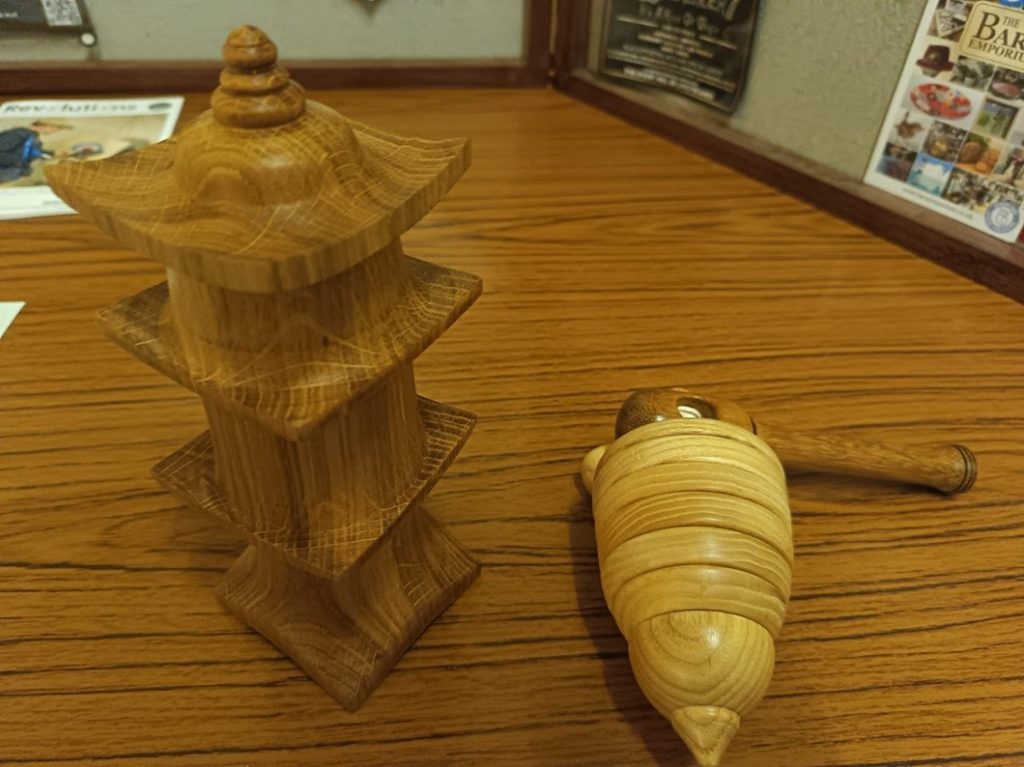
When all was finished Steve then showed how the cracker worked by pulling it and getting the expected pop, I do not have a photo of the finished item. I have added two photos of a miniature cracker that I made just to show what the finished article looked like.
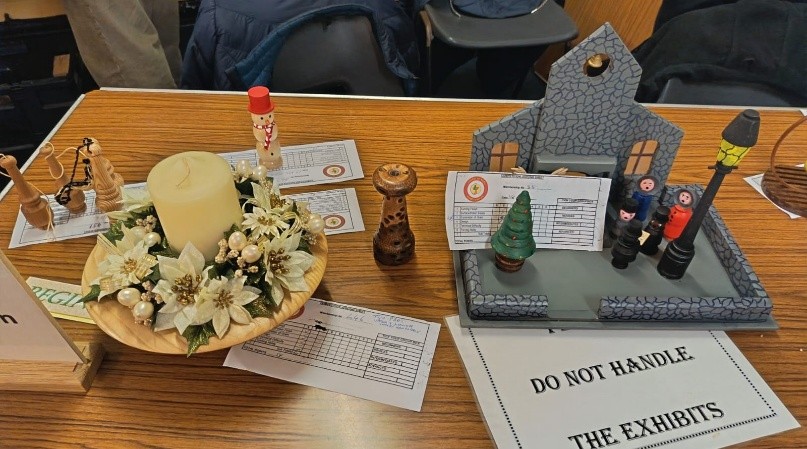
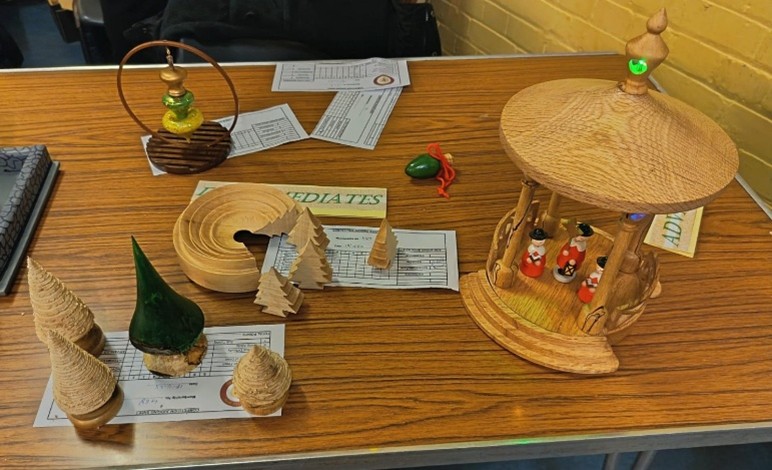
The last three photos are of the competition and display table.
Photo 3
Photo 4
Photo 3
Written by Don smith with photos from Mike, Kate, club computer and myself.
We use cookies to ensure that we give you the best experience on our website. If you continue to use this site we will assume that you are happy with it.